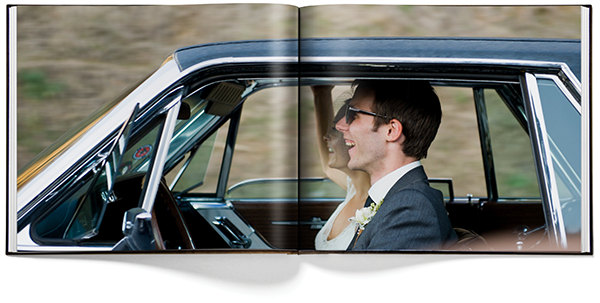
I think there’s nothing quite like having your favorite photos in an actual, physical book. And while there are other services out there, Blurb is really the best. But what does it take to make your own book with Blurb? It’s surprisingly easy. I’ve outlined the steps below:

Select your favorite shots from your computer. You can always add more photos when you actually make your book, but a little pre-editing can ease you along.
Organize your shots in the way you want them to appear. Be sure to name image files in order as well, so that when you upload them, you’ll be able to flow images in according to file name. (Example: 2013BestMomentsBook.1.jpg)
Download Blurb’s free book-making tool, BookSmart

Choose your book size, name your book, and choose your default layout type.
Upload your photos. You can easily rearrange them once they’re in the layout.
Play around a little. Alternate layouts depending on the event or number of photos you want to see per page. Mix it up a little.
Once complete, be sure to do a solid proof. And better yet, get it in front of another pair of eyes. Fix any typos or mistakes.
Order your Blurb book! Don’t forget to enter coupon code MARCHSAVINGS to Save 25% on print book orders $75+.
Disclosure: This post may contain affiliate links.


